Authored by: Tractor tyre expert | 03 April 2023
You have chosen to handle the replacement of your tractor tyres yourself. This is effectively possible with the right equipment and a little bit of experience.
However, there are many traps that you may come across, during both the mounting and demounting of your tractor tyres. We have listed for you the most frequent traps which lie in wait for most of the people who carry out this type of operation themselves. It would be a shame to lose a new tyre during the mounting process, so it’s often best to collect all the advice you need beforehand in order to avoid the minor errors which can result in your equipment becoming unusable right from the start.
These are the principal 10 traps to avoid.
Before replacing an agricultural tyre, you must make sure that you have the right tyre/rim combination, in relation to the technical characteristics of your tractor and obviously choose a size of tyre that is compatible with your equipment.
It is the beads and the sidewalls that make it possible to maintain the tyre in place on the rim through force of pressure.
If you fit a wide tyre on a rim that is too small, the beads will not be correctly positioned. They will become misshapen, causing either a loss of pressure or damage to the rubber in the bead and resulting in premature strain in this part of the tyre.
To avoid these problems, you can check that the new tyre is compatible with the size of the rim by consulting the technical characteristics in the manufacturer’s manual.
One of the errors to avoid when replacing agricultural tyres is choosing a model whose size is unsuitable for the technical characteristics of your tractor.
You must therefore check that the specific dimensions you have chosen are approved by the manufacturer. For a 4WD tractor, the transmission could be damaged by an incorrect lead ratio.
If the lead ratio is correct but the tyre is too big for the type of tractor used, it may rub against the tractor’s mudguards at the level of the wheel passage during operations. This will cause rapid wear to the rubber in the tread or the sidewalls.
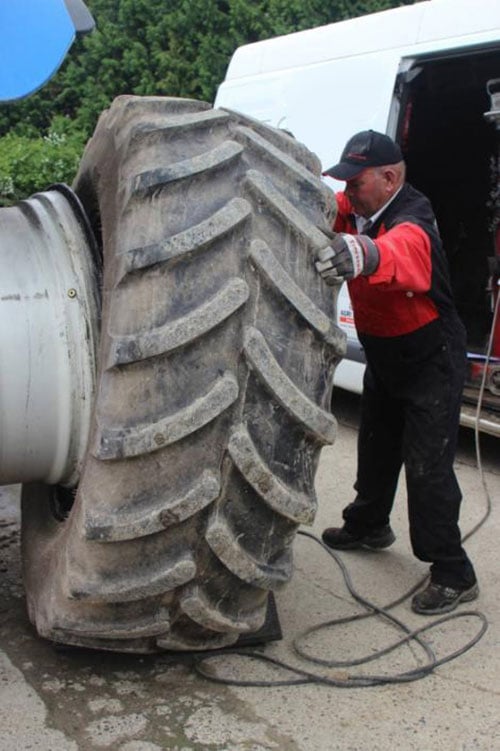
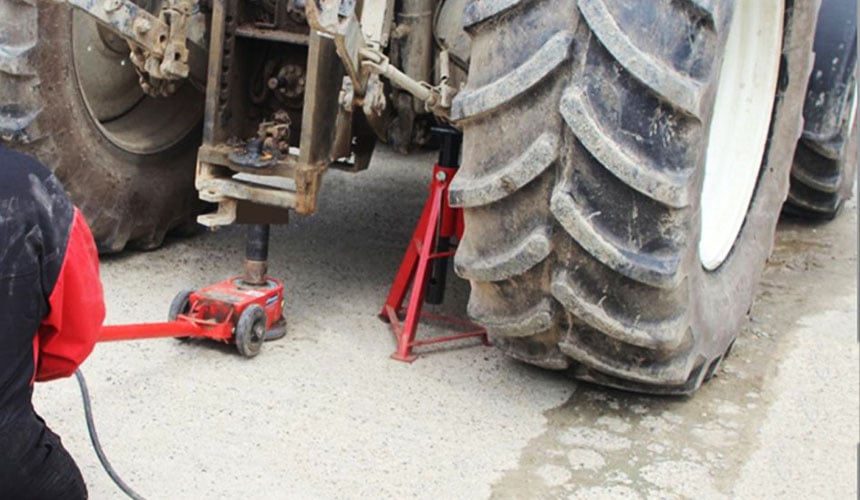
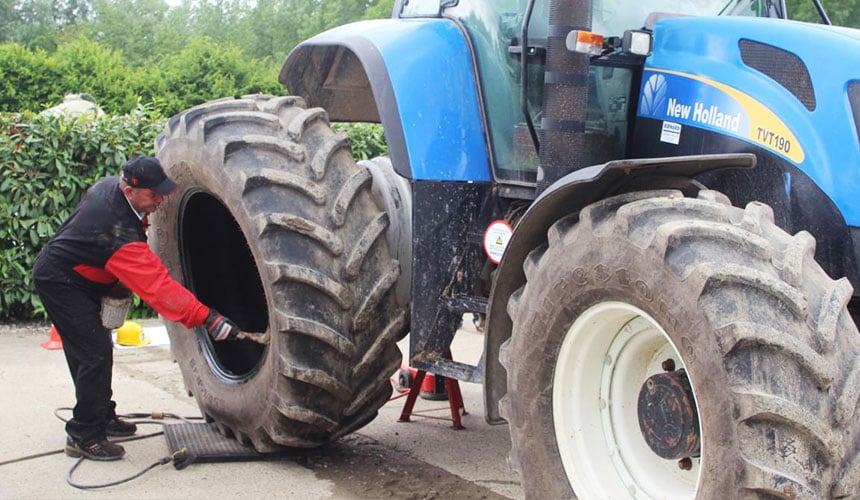
Demounting tractor tyres is a complex and tricky operation due to the significant masses and volumes that have to be moved around.
Before starting any operation, you must prepare carefully in order to avoid accidents or risk damaging the new tyres during the fitting process.
During the mounting of your agricultural tyres, avoid the following errors so as not to damage your new tyres and to prevent the risk of them bursting, causing bodily injury.
One of the traps to avoid after demounting a tractor tyre is remounting it without having checked or cleaned the bead seats on the rims.
If the rims are old or have been used frequently for inflation with water, there may be a build-up of rust which could cause premature damage to the new tyre.
This is why you must ensure that the rim is perfectly clean by using a metallic brush to remove all the rusty particles.
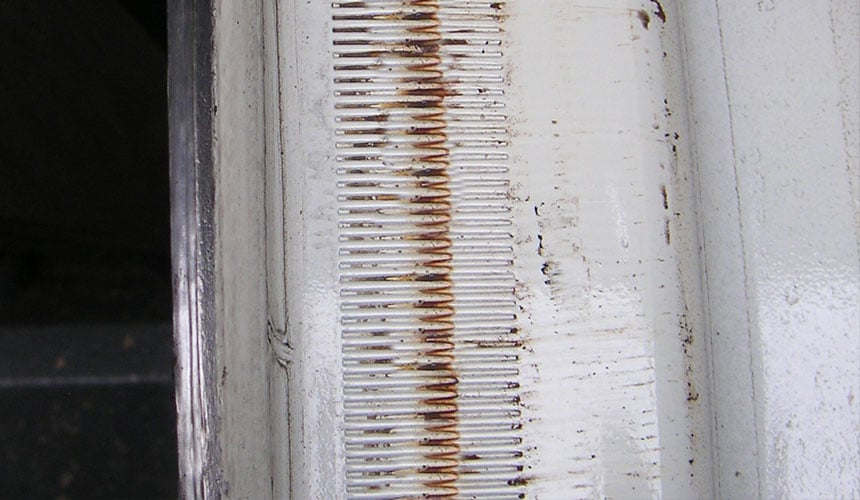
Make sure the grooves on the edge of the rim are nice and clean, because the accumulation of rust can change the diameter of the rim or cause instability of the bead.
Be careful not to fit a new tyre on a rim that is too old, showing signs of damage, breaking, fissures, major deformations or traces of welded repair work.
When mounting your new tyre with the pressure setting properly adjusted, you must check that your valve body is airtight, as well as the valve cap, to avoid any untimely loss of pressure.
It is always preferable to replace the valve during mounting to avoid problems later.
A lack of lubrication can lead to an incorrect positioning of the beads during inflation and cause difficulties when mounting the tyre.
So before proceeding, ensure you apply a sufficient amount of lubricant to both sides of the tyre beads, on the rim seat and the edge of the rim so that the two elements can slot together perfectly.
BE CAREFUL, if you use a bad quality or unsuitable lubricant and if the surface is still greasy once the tyre has been mounted, the tyre will systematically turn on its rim, causing premature wear to the bead because of the rubbing on the rim.
The hydrocarbons or lubricants which contain them are incompatible with the natural rubber in the tyres, attacking the chemical structure of the polymer.
To avoid unpleasant surprises, you must only use lubricants that are specifically intended for this purpose and not aggressive for the tyres. Failing this, the best alternative is to use vegetable oil used for cooking.
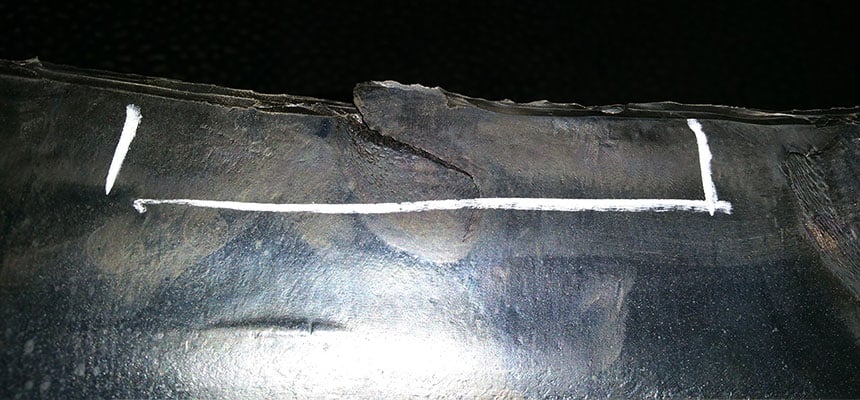
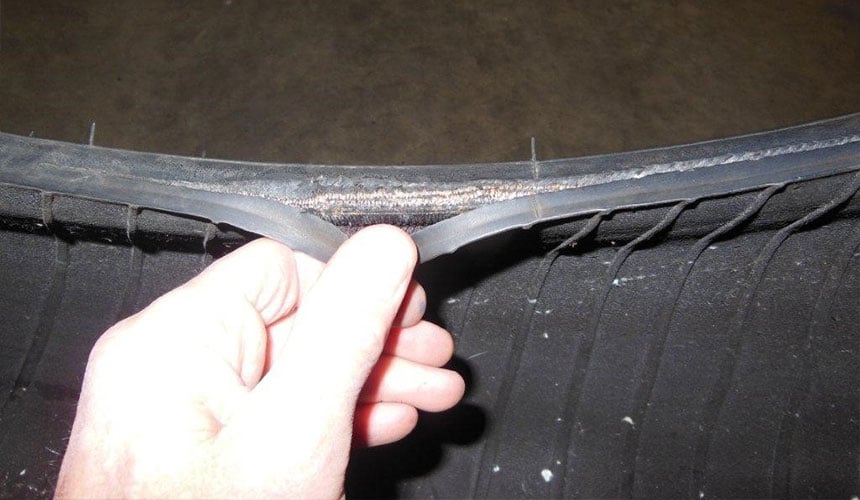
Although this area is reinforced, it may be damaged during handling operations when mounting or demounting the tyre. It may be torn or cut due to an incorrect positioning of the levers during manual mounting or by the inappropriate use of automatic tyre mounting equipment.
In certain cases, the bead seating tool may slip and cause a tear, or the tyre may be sitting straight on the edge of the rim, thus compressing the bead’s airtight zone.
Although this zone is reinforced by a metallic bead wire, it is important to bear in mind that the bead is a part of the tyre that cannot be repaired, because it has a major role to play to ensure that the wheel is airtight on the rim.
Given that a small bit of rubber torn off can lead to a leak, a bead that is damaged, squashed or pinched during mounting (either manual or machine mounting) must not be used, even if the tyre tread is still new. This can lead to a risk of explosion during inflation or driving.
The incorrect positioning of the beads on the rim at the time of inflation may only be slight and not easily visible. It can lead to deformation of the bead, and as such poor tyre performance when working. This abnormal positioning will cause vibrations linked to an imbalanced rotation of the wheel.
During the mounting process you must therefore carry out a precise visual inspection, and if there is any problem, deflate the tyre immediately to readjust the positioning on the rim. Make sure to relubricate the beads and rim seats before reinflating the tyre, without exceeding the maximum recommended pressure.
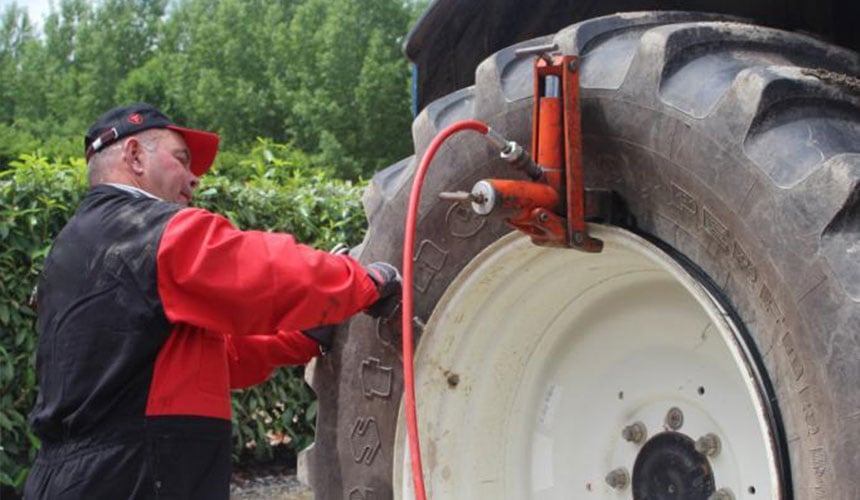
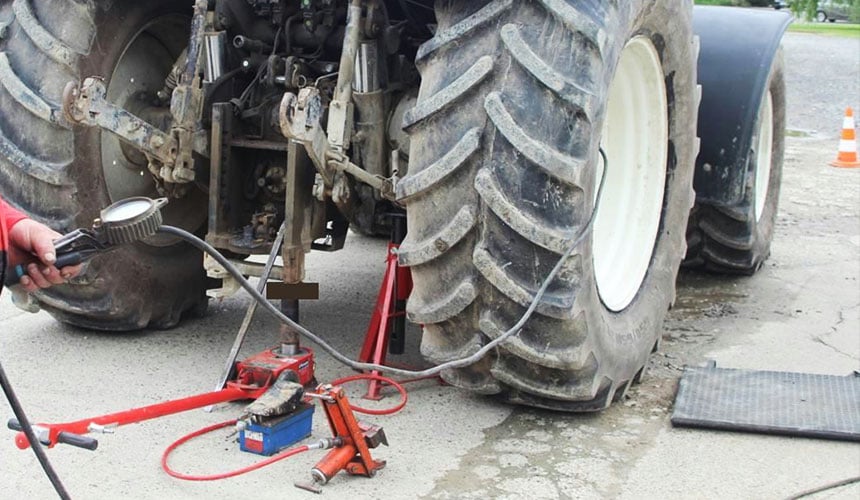
Beyond its apparent simplicity, the inflation of the tyres is certainly one of the most dangerous tasks, which can cause serious accidents linked to tyres bursting. During the inflation process, you must be extra careful.
You cannot wait for the “water hammer effect” (the moment when the internal tyre pressure suddenly pushes the beads into their end position) without checking the pressure level.
To avoid accidents, make sure that you never exceed the maximum inflation pressure (2.5 bar) indicated on the tyre sidewall.
During the inflation process, you must check the progressive positioning of the beads on the rim seats and interrupt the inflation operation at 0.8 bar and 1.2 bar to check the progress.
If you reach maximum pressure and the beads are not in position, it’s best to deflate the tyre and establish what went wrong rather than exceeding the limit.
Once the tyre has been correctly mounted, you must avoid keeping the same inflation pressure. Adapt pressure depending on load, speed and the work to be carried out to avoid premature wear.
To avoid endangering the budget that you have just put into your new tyres, it is often wiser to place trust in your tyre specialist, who has more equipment than you and who is used to carrying out mounting/demounting operations all day long.
Turning to a professional will safeguard your investment, ensure a replacement tyre is guaranteed if the mounting operation does not go according to plan and offer you the chance to obtain advice on more complex techniques linked to tyres such as the lead ratio, centring, concentricity, geometry or parallelism.
We have developed a complete guide for you to download free of charge “Everything you need to know about mounting & demounting tractor tyres”

Most people who read this article have also read some of the following articles: